Ever feel like your quilt needs just a tiny bit more pizzazz—kind of like that last dollop of whipped cream on your hot chocolate? A scalloped border might be the answer! Those gentle, curving edges offer a soft, flowing silhouette that brings a hint of magic to quilts of all styles, from timeless heirlooms to modern showstoppers. And guess what? Quilter extraordinaire Deonn Stott is here to show us how to calculate scallops for any quilt, so your masterpiece can have that wow factor, too.
Meet Deonn Stott (AKA Your Scallop Guru)
Deonn is not only a talented quilter but also an enthusiastic educator and author—her book,
The Ultimate Binding and Edge-Finishing Guide for Quilting and Sewing, has been flying off shelves like free donuts in a coffee shop. If you’re craving new ways to level-up your binding and edge-finishing game, this is the resource you need in your life.
Ready to Scallop Like a Pro?
In this guest post, Deonn shares exactly how to measure and mark scallops, ensuring that you’ll end up with a border that’s as charming as it is accurate.
A Real-Life Example
Once upon a time, Deonn’s longarm client, Shawn, made a romantic quilt using vintage Valentine handkerchiefs—so dreamy! They both decided the edges should mimic the lacy charm of the handkerchiefs themselves, and the result was absolutely stunning. Let’s find out how you can create that same kind of magic on your own quilt.
The Supplies You’ll Need
- Your (unquilted, pressed) quilt top
- A removable marking tool (like a Frixion™ pen or another fabric-safe marker)
- A couple sheets of paper, cardstock, or an empty cereal box—plus a pencil
- Sharp scissors that can handle curves without complaining
Basically, if you can find it in your sewing space (or maybe your recycling bin), you can probably use it here.
Step-by-Step Instructions
1. Decide on the Scallop Depth
Think of this as picking your haircut length—except for fabric. You’ll want to figure out how deep you want your scallops (the measurement from the top of the curve to the base). Then add ½” for good measure (literally!) because that extra bit will become your seam allowance/binding width.
Pro Tip: Scallops generally look nice when they’re about 1½” to 3″ deep. Any deeper and they start looking like giant waves; any shallower, and you might not see much of a curve at all.
2. Draw a Baseline
Next, grab your removable marker (no permanent markers, please!) and draw a baseline on the quilt border to show where the scallops will “begin.” This line should be the depth of your scallop plus ½” away from the quilt’s raw edge.
- Example: If you want a 1½” scallop, you’ll draw your line 2″ in from the edge (1½” + ½” = 2″).
- Repeat this baseline marking on each side of your quilt, so your scallops will be uniform.
3. Calculate the Width of Each Scallop
Now, let’s handle the “how wide” question. Each corner of your quilt has that baseline intersection (like a little crossroads). Measure the distance between one intersection and the next. Then, decide how many scallops you want along that edge and divide the total distance by that number.
- Example: If your quilt is 48″ between the baseline intersections, and you want 6 scallops, do the math: 48 ÷ 6 = 8″.
- Boom! Each scallop will be 8″ wide (and 1½” deep, in our example).
4. Make a Template
Time to get crafty! On paper, cardstock, or your trusty cereal box, draw a rectangle that’s the exact width and height you’ve chosen (so 8″ wide x 1½” high in our example). Then, using a round object—like a plate or a bowl—trace a gentle curve inside that rectangle. Cut out this shape. Congratulations, you’ve got yourself a scallop template!
Friendly Reminder: Avoid making a perfect half-circle. Go for a subtler, gentler curve. It’ll look prettier and it’s a whole lot simpler to bind later.
5. Mark the Scallops on Your Quilt
Using your freshly minted template, line it up along the baseline between those intersection points. Trace each curve. Work your way along the border until you’ve marked all your scallops on that edge. Then flip your quilt around and do the same on the opposite side.
- If your quilt is square, mark all four sides with this same template.
- If your quilt is rectangular, you’ll likely have different lengths on different sides. Repeat the math (Step 3) and make a separate template for the other side so everything matches nicely.
6. Smooth Out the Corners
Corners can be tricky—kind of like the final pieces of a jigsaw puzzle. You might need to tweak or redraw corner scallops to ensure you get a nice, fluid curve. If you prefer round corners rather than pointy scallops, feel free to round them off. Take your time and play with the shapes until they look just right.
7. Quilt First, Then Trim
Resist the urge to start cutting right now! Quilt your masterpiece before you trim away any excess fabric. You can even baste along the scallop lines (the ones you drew) if you like—this helps secure everything in place.
8. Trim and Bind
With your quilting done and your lines already stitched or marked, it’s time for a little haircut. Trim the quilt edges about ¼” outside the scallop basting line in smooth, confident motions (take deep breaths!). Once you’re done trimming, your quilt is officially ready for binding.
Pro Tip: Use bias binding when finishing curvy edges. It’s stretchy enough to handle those curves without breaking a sweat. Check out Deonn’s tutorials: ScallopEdgeBinding or CurvaceousBinding for more details if you’re not sure where to begin.
Why Scalloped Borders Are Worth the Extra Effort
Adding scallops is like giving your quilt a fancy frame—one that’s soft, inviting, and a clear sign of the careful craftsmanship behind it. Whether you’re going for a vintage vibe or a crisp modern look, scallops bring an extra dose of charm. And honestly, who doesn’t want their quilt to be a conversation piece?
So, go forth and scallop! With these tips and Deonn’s sage advice, you’ll be ready to transform your quilt into something that’ll have everyone ooh-ing and ahh-ing. Happy quilting (and trimming)!
 Winter Whimsy (Printed Edition)
1 × $18.95
Winter Whimsy (Printed Edition)
1 × $18.95  Butterfly Serenade
1 × $15.99
Butterfly Serenade
1 × $15.99  Flying Home (Printed Edition)
1 × $23.97
Flying Home (Printed Edition)
1 × $23.97  Frosted Pines (Printed Edition)
2 × $17.97
Frosted Pines (Printed Edition)
2 × $17.97  Ocean Parade (Printed Edition)
1 × $18.97
Ocean Parade (Printed Edition)
1 × $18.97 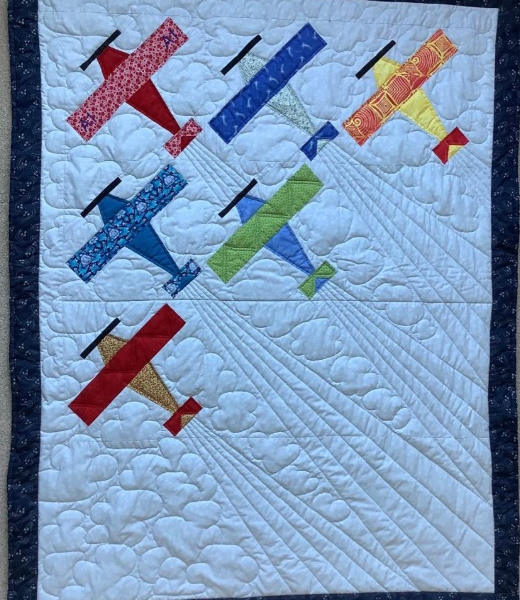 Cloud Chasers (Printed Edition)
1 × $22.97
Cloud Chasers (Printed Edition)
1 × $22.97